


About the Company
“The idea for milKit was born during a mountain bike trip in the middle of nowhere around Moab, with a flat tubeless tire due to dried out sealant. A problem that those of you that ride tubeless will understand.”
“The product development engineer and addicted mountain biker Pius Kobler decided to do something about it and invented milKit. Together with another biking enthusiast and experienced entrepreneur Sven Rizzotti, they founded the company Sport Components Ltd. Their aim is, to ease the everyday lives of mountain bikers and other athletes with innovative products and become a leading provider of sports goods.”
The milKit Tubeless Valve and Refill Kit
For anybody who utilizes tubeless tyre technology on a gravel, road or mountain bike, most of today’s sealants are latex-based. Latex doesn’t always play well with oxygen, and it definitely doesn’t get along with Co2 from those handy little inflators.
Depending on your location, factors such as temperature and humidity will impact the active life of your brand’s sealant inside your tyres. At some point in time, likely two to six months, the sealant is going to dry up.
Depending on the sealant brand, part of that drying process includes the formation of latex – which is what plugs a would be puncture. This dried latex appears in the form of “stanimals”, as one popular brand has a tendency to do – or as a film inside the tyre… that can sometimes be peeled away… if you have a bit of spare time on your hands. Non-latex based sealants don’t have this issue, but they have their own set of drawbacks…
Determining the level of sealant usually involves deflating the tyre, breaking the tyre / rim seal, and physically taking a peek to see what sealant, if any, remains.
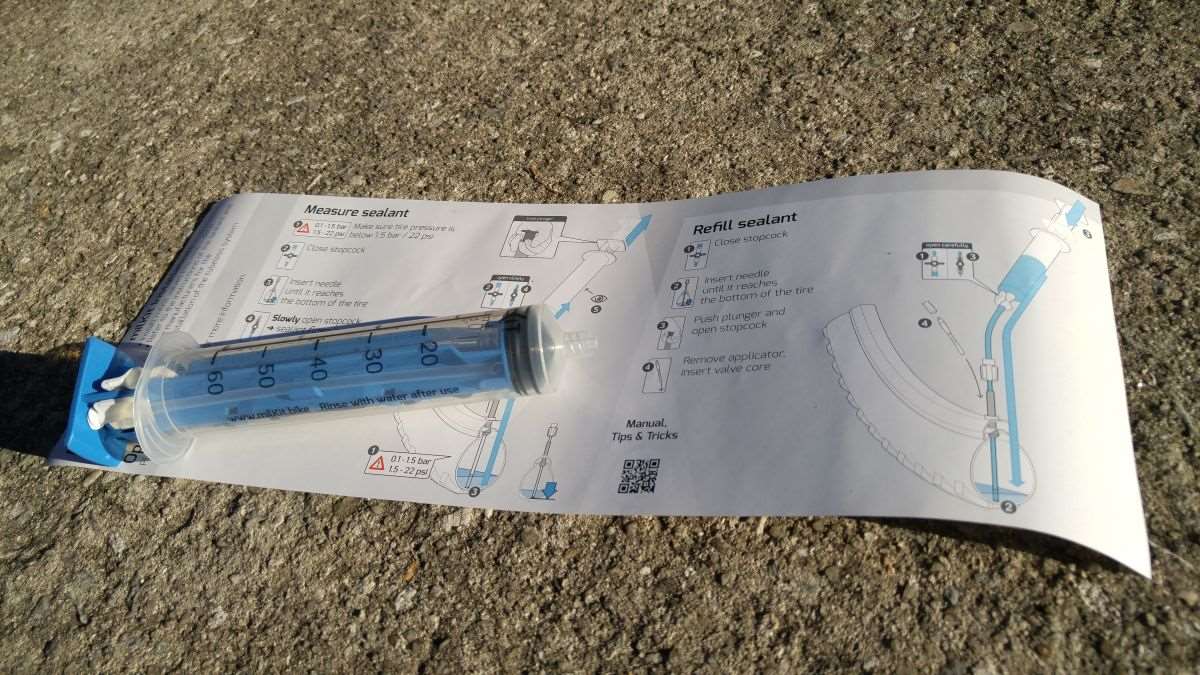
The milKit Tubeless Valve and Refill kit promise to make the process of checking on sealant level, changing out sealant or adding more, an absolute breeze.
What’s Inside the Kit
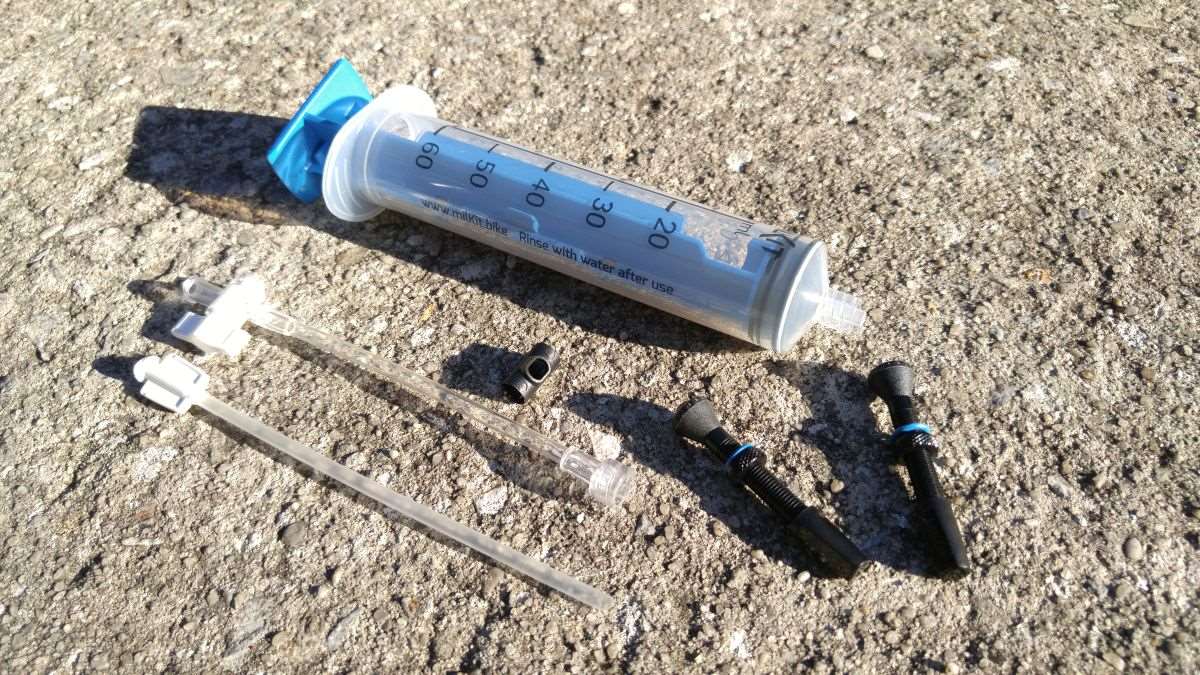
A milKit consists of two valves, a valve core tool, measuring / refilling syringe, and plastic tubing / fittings to check / refill sealant.
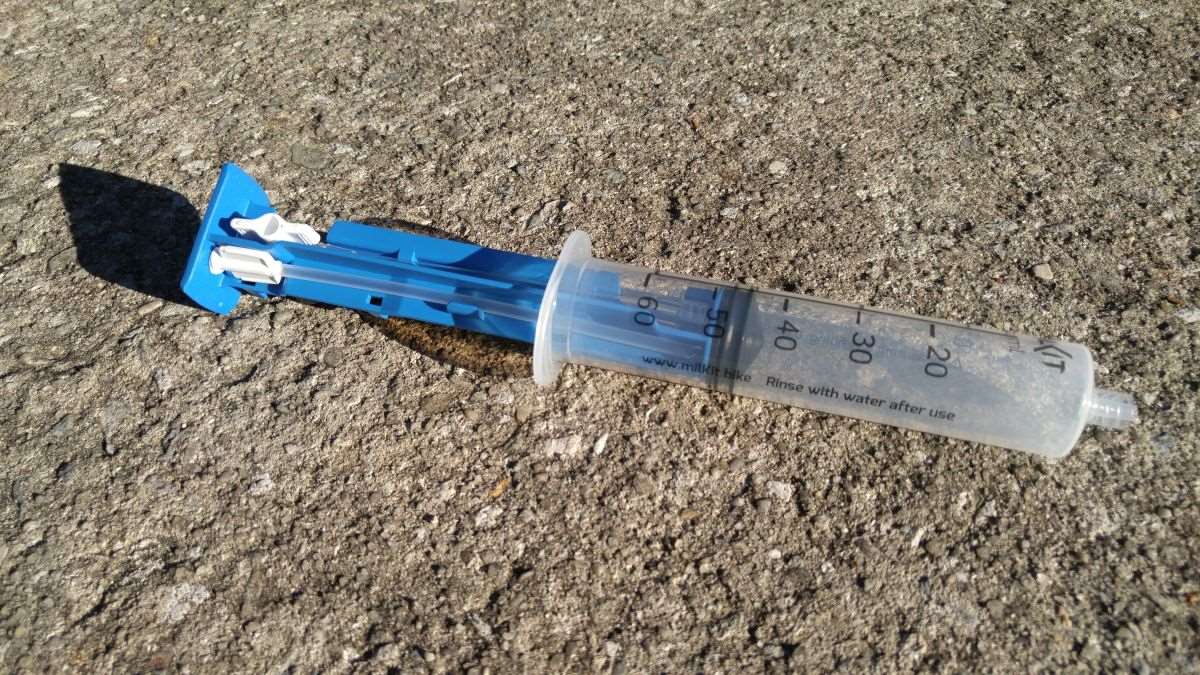
All of the parts are designed to be clipped into the plunger of the syringe, providing a compact and clean way to store the milKit.

The Valve Installation Process
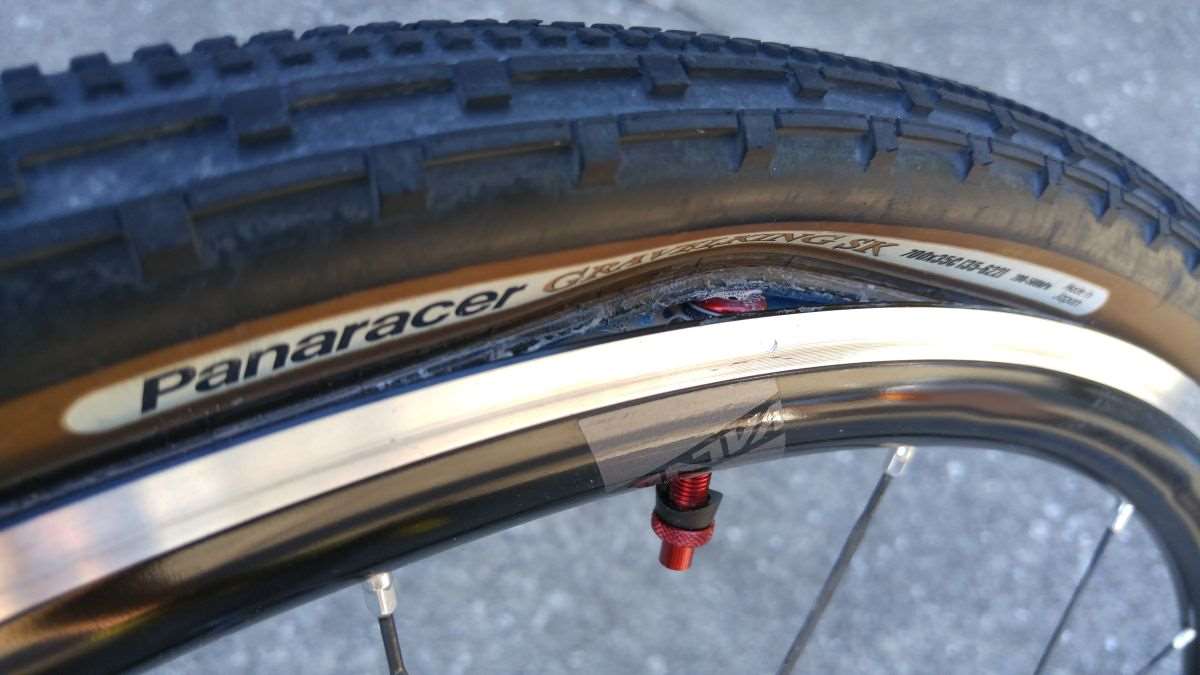
First, you will need to replace your existing tubeless valve. As you can see above, I’ve broken the tyre seal. At this point, remove the original valve. I was careful so I could retain the original sealant – Orange Seal Endurance formula.
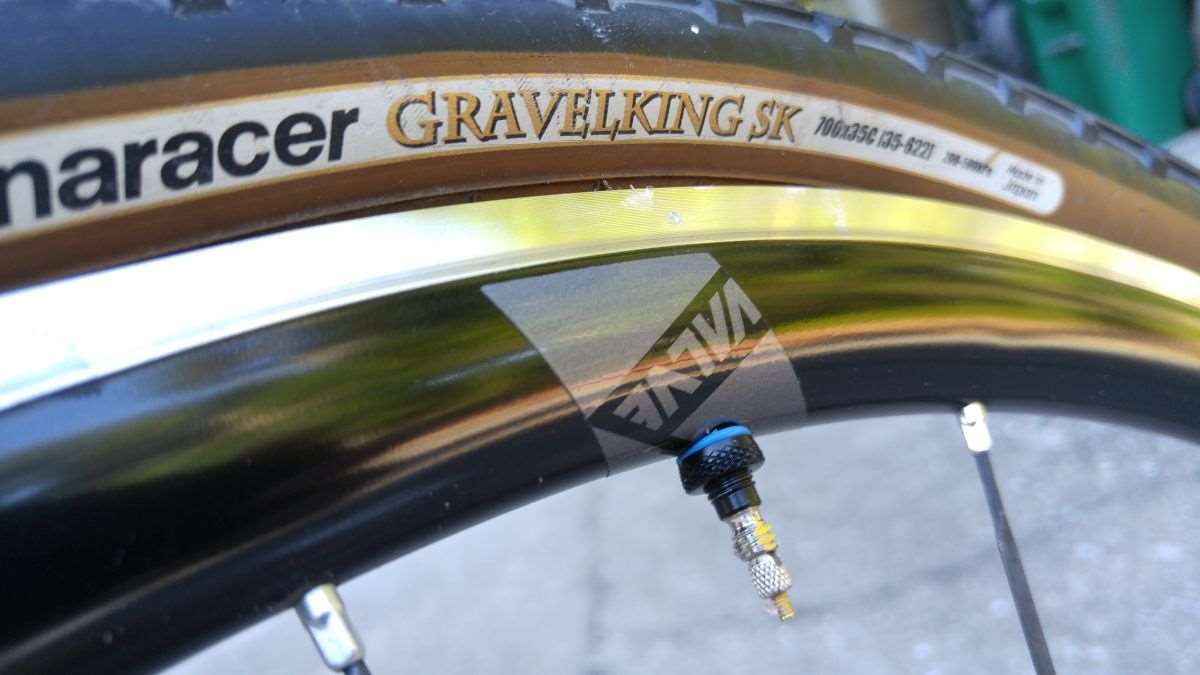
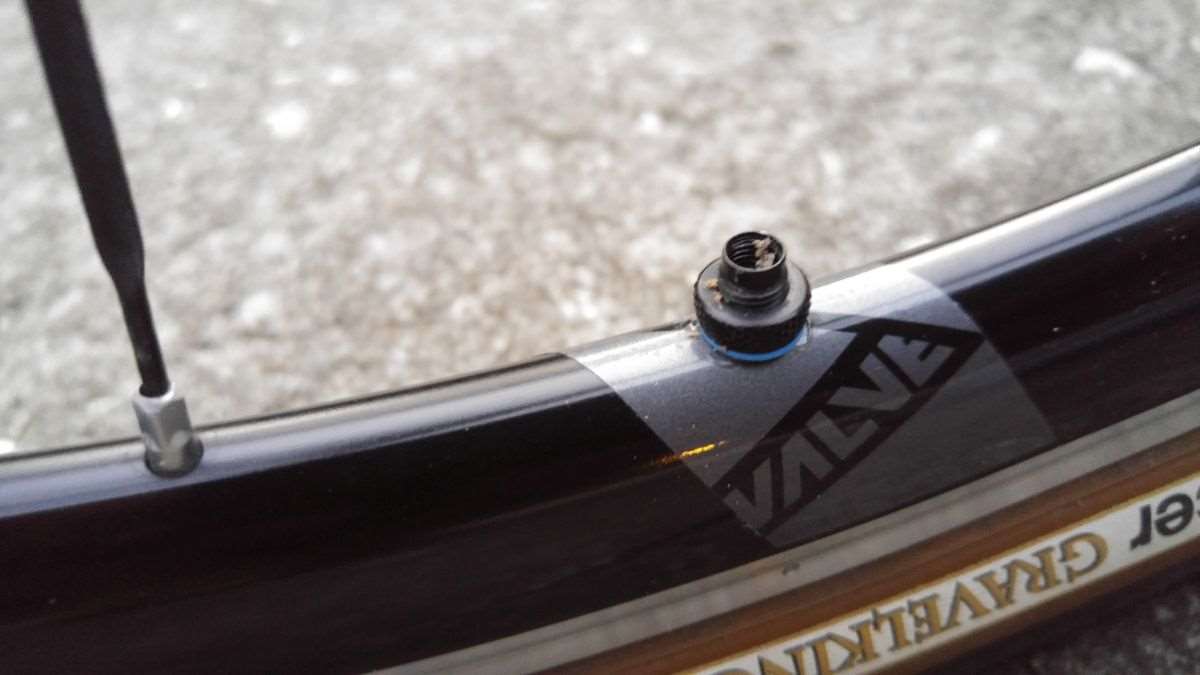
Above, the same rim and tyre, but with the milKit valve installed. This sample valve is on the cusp of being a little too short, but there is enough there to inflate. milKit offer several lengths of valves suitable for your wheelset.
No tricks during the valve installation, simply install the valve and tighten the nut. I had enough sealant from earlier, so there was no need to top up, but I’ll talk about how the system works – read on!
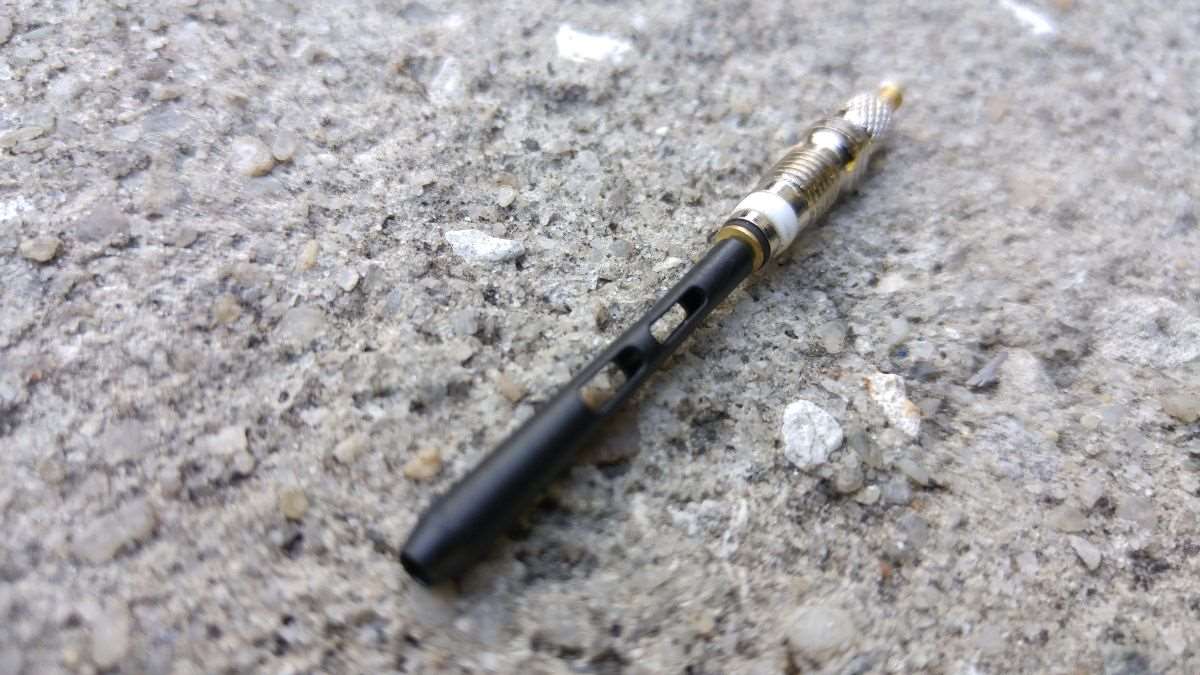
At the bottom of the valve is a one-way piece of rubber with four “petals”. This rubber piece closes itself and seals the bottom portion of the valve, even if the Presta valve core is removed. The design allows the sealant to do its job, but without the sealant passing through the Presta valve opening.
The design also retains enough air pressure to keep the tyre seal. You will need to lower your air pressure to about 15psi any time you want to check on sealant, add, or replace. milKit recommend pressure be lowered to 22psi at a minimum.
The milKit Presta valve core has a plastic extension on the bottom. When the valve is installed and depressed, it pushes the rubber petals apart to let air out. The petals work to keep sealant from flowing into the valve core. Anyone familiar with tubeless knows that sealant and valves don’t mix well together – eventually, most valve cores clog with sealant / latex.
The Sealant Refill / Replacement Process
When the time comes to check the sealant level or refill, you will first need to lower the tyre pressure to about 15psi. Then, remove the milKit valve core.
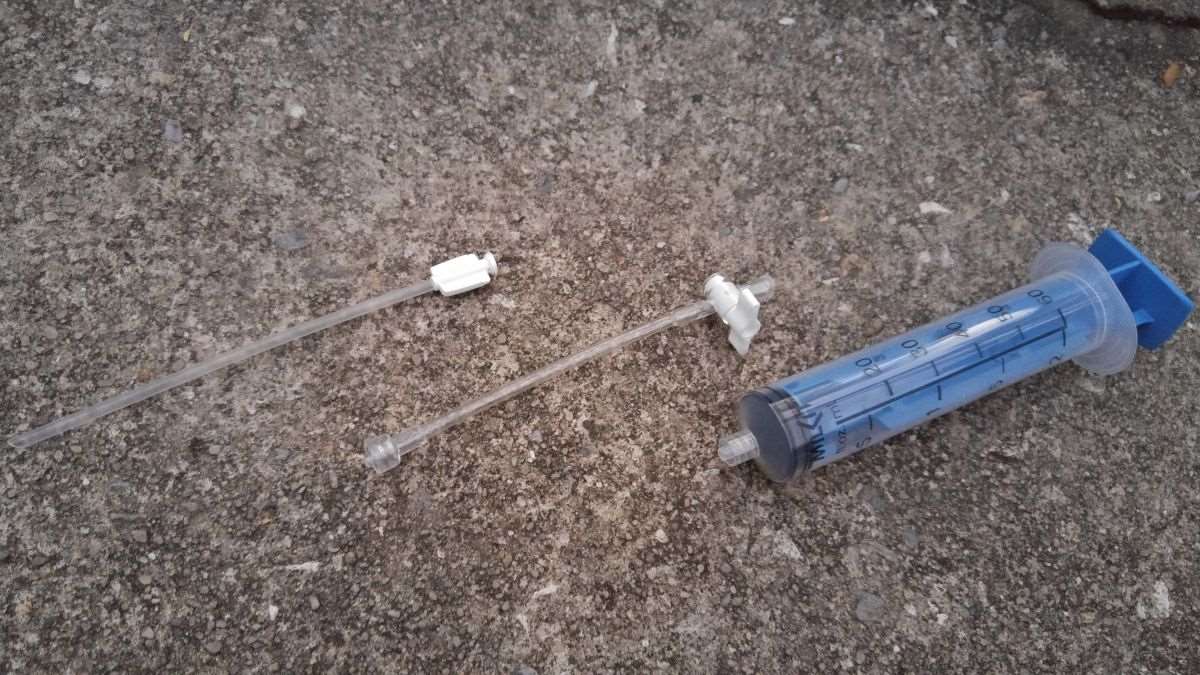
Above, the syringe and plastic tubing. On the left is the tubing piece that will be inserted through the valve body, while the one on the right is the faucet / tap that controls the flow of sealant in and out of the syringe. The tubing on the left is rigid, while the one on the right is flexible.
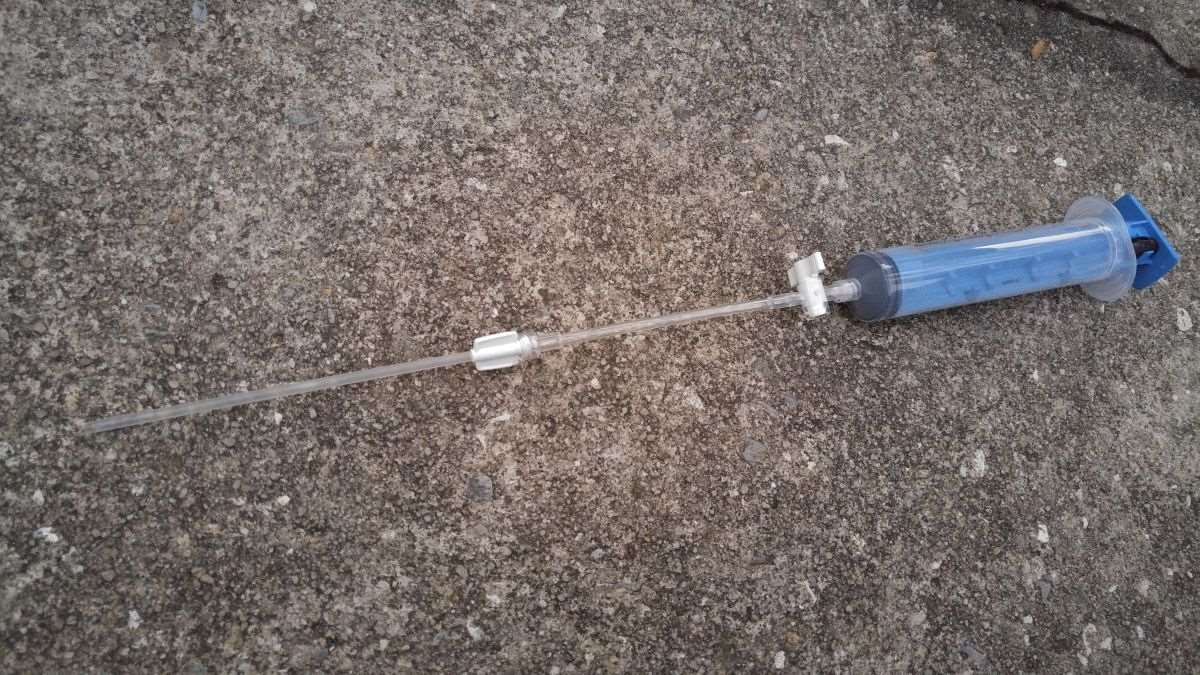
Refill tubing and tap / faucet piece screwed together and ready to go.
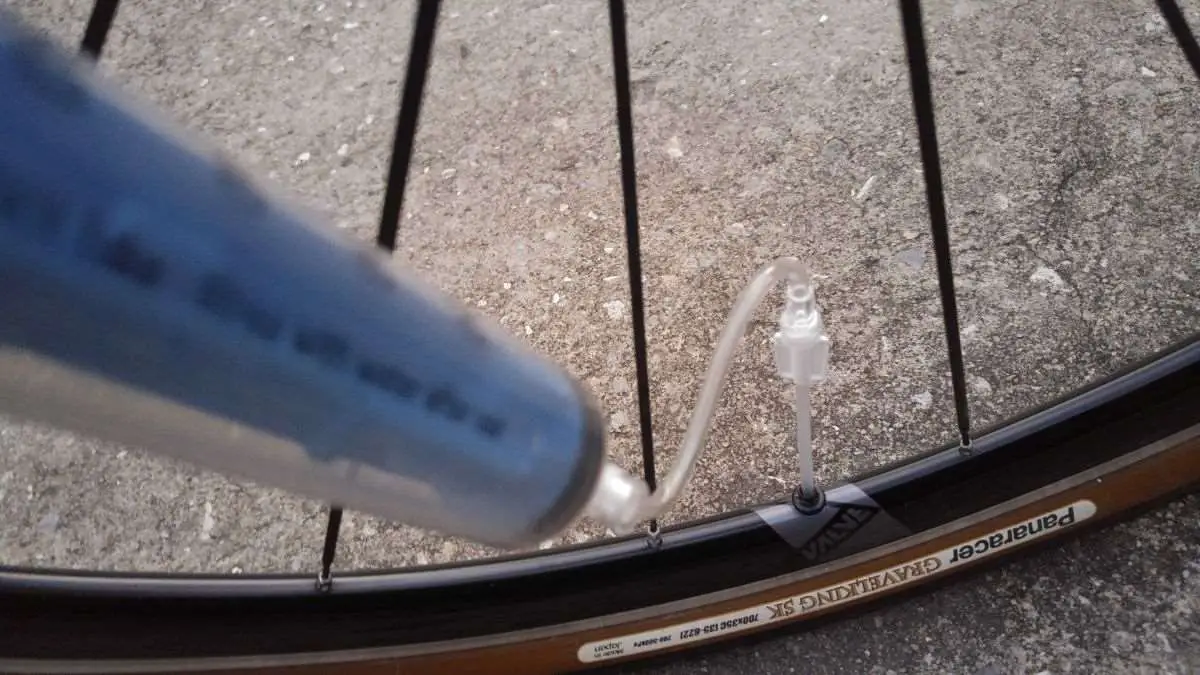
Next, insert the stiff plastic tubing inside the now open valve body. Ideally, it will push directly to the bottom of the tyre. The end of the rigid tubing piece is cut at a 45-degree angle, allowing one to grab every drop of sealant if needed.
Important – Ensure you have dropped the tyre pressure!
Else, the next step will result in an awful mess! Nobody needs tyre sealant exploded all over the inside of their workshop!

Open the faucet / tap. Sealant inside the tyre will automatically flow into the syringe, courtesy of the tyre’s air pressure. This is why it’s important to drop the tyre pressure!
This step allows you to gauge the level of sealant, and if appropriate, add more. To add, remove the syringe’s plunger and fill to the appropriate level. To refill the tyre with sealant, simply push the plunger down until the contents of the syringe are emptied into the tyre.
Once you get a little practice, the check / refill process can be done in two minutes or less. Superb!
Conclusion
Not every tyre will break its seal from the rim, even if the pressure is dropped to zero psi. But many tyres will, and this is where the check and refill function of the milKit system is a boon if you use tubeless tyres.
The milKit system isn’t cheap, but it saves on the hassle of sealant topping up / replacement.
Expect to pay around $US 55.00 depending on where you look, which includes everything in this review. Additional valves can set you back anywhere from $US 29.95 and up.
| milKit KIT Standard Valves | milKit Standard Valves | |
| Click the Link to BUY from Amazon | Click the Link to BUY from Amazon | |
| milKit KIT 55mm Valves | milKit 55mm Valves | |
| Click the Link to BUY from Amazon | Click the Link to BUY from Amazon | |
| milKit KIT 75mm Valves | milKit 75mm Valves | |
| Click the Link to BUY from Amazon | Click the Link to BUY from Amazon |
Sounds like there is actually a case for nitrogen filling of bike tires as opposed to car tires.
Someone needs to try this Tom…
Used this solution last winter on my fatbike. Works well. But it can’t deflate tire when core removed. I think this usefull when you change tubeless tires often (easy to reuse the sealant).
Not sure if you want to mention it, but milKit is crowdfunding their next product, a tubeless tire booster attachment and bottle, which would facilitate setting the beat on tubeless setups with any pump. If you go for one of the midrange funding options, it includes the basic milKit tubeless valves and injector system, so for first-time milKit customers (such as myself), it is a perfect all-in-one purchase. I’ve been running tubeless for a few years now on all of my bikes, and have relied on a Bontrager TLR FlashCharger pump to do tubeless setups, but the past few times I tried to use it, it didn’t work–I think the head is partially clogged with sealant, so it doesn’t flow enough air volume to seat the beads anymore. With the way that the milKit valves are designed, it will prevent clogging of valves and pump heads, plus their new inflator attachment and bottle are much more portable if you plan to take it with you on bikepacking trips than a big floor pump like the TLR FlashCharger.
-Ed