

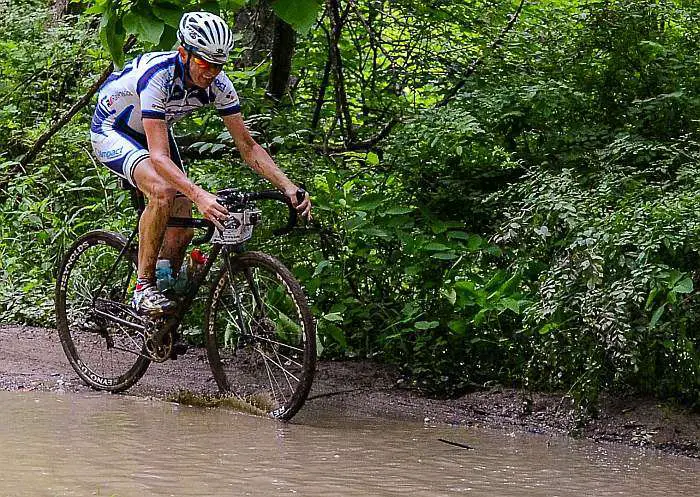
Some of the allures of riding or racing on dirt and gravel roads, is the lack of automobile traffic and scenery you wouldn’t ordinarily spot riding along a paved road.
Then, there is the dirt – and dust – and mud – and sludge.
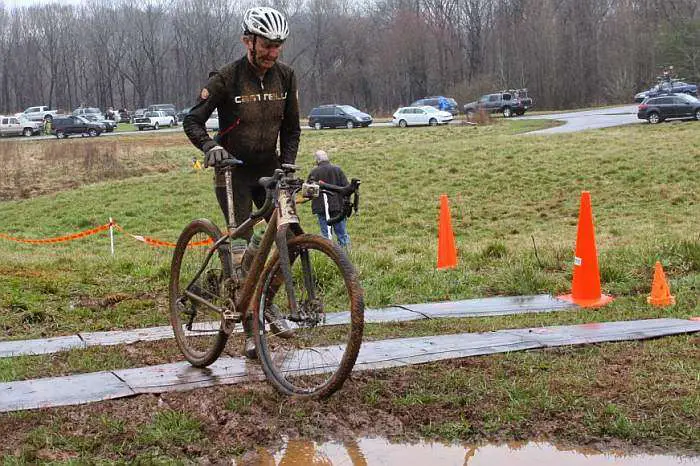
Riding and racing on gravel means you’re going to get dirty. Consequently, this won’t appeal to everyone. But for those who understand and relish this type of cycling, there is something very satisfying about finishing a tough ride or race, covered in crap.
My philosophy (JOM) with regard to cycling in filthy conditions is simple – once you’ve departed the dry, safe haven of your house or vehicle, and the first coating of sludge has covered your body and bicycle, the rest is irrelevant. The care factor slips away – mud and sludge atop more mud and sludge is the same. The challenge then lay in sucking up the ride, grinding it out, and finishing – hopefully sans too much complaining – admittedly I did a bit of complaining to myself when my bike imploded at the 2015 Southern Cross Race.
That dirt be hard on the equipment
While you may be happy as a pig in the proverbial poop, your bike may not be so. Gravel cycling in inclement weather conditions poses real challenges to equipment, more so when climbing and descending is involved. You reckon those spanky disc brake calipers on your bike are pleased with grabbing slick brake rotors covered in sandpaper-like grit? Not bloody likely.
Below are some tips we hope will help to prepare for cycling in inclement weather:
- Disc brakes – Install Metallic / Sintered pads. Out of the box, most disc brake calipers, mechanical or hydraulic, come with an Organic compound pad. Organic pads offer great dry and wet weather performance, but wear at an alarming rate in sludgy conditions. Metallic pads don’t offer the same bite or feeling of power, but they are longer wearing in horrible conditions. In most cases, you should be able to get several hours out of a set of metallic pads with normal braking use – dependent on rider technique and terrain.
- Mechanical disc brake adjustments – As pads wear in the crud, distance between the brake pad and rotor will increase, meaning the brake lever will require more travel before pad contact is made. With a good amount of pad wear, it is possible the brake lever may pull to the handlebar – a rather disconcerting feeling – think temporary panic. Thankfully, most good mechanical disc brakes are equipped with barrel adjusters. Account for this wear by periodically backing out the barrel adjuster to bring the pads closer to the rotors. Unless your bicycle is equipped with an in-line cable adjuster of some kind, you will need to stop to make these brake adjustments.
- That annoying ting-ting / scraping sound associated with disc brakes and sludge – ignore it. When brake rotors are covered in water / mud and sludge, small particles of the latter material will ping and ting as they pass through the brake caliper. Resist the temptation to scrub the rotor by braking gently – this will only exacerbate pad wear. Instead, sing a song in your head or consult MistaDobalina.
- Hydraulic brakes are king. Why? Because a hydraulic line is completely sealed from the elements, from brake lever to caliper, and there are only two moving parts at the caliper to worry about – the pistons themselves. Barring crud which could potentially create stiction to the pistons, hydraulic brake calipers self adjust for wear. The same pad wear issues apply to mechanical disc brakes, but there are no barrel adjusters or cable tension issues to worry about. The performance of mechanical disc brakes can be negatively affected by mud and sludge – those little particles of mud can prevent the actuator arm from moving efficiently, creating drag, which really affects braking feel at the lever. Additionally, the brake cable housings themselves can become contaminated, impacting performance. These are very real issues and can be potentially dangerous – yours truly has experienced a complete fail condition on at least one mechanical caliper at the 2015 Southern Cross Race – not something you need when you’re about to descend a mountain.
- Mechanical shifting – Suffers the same issues of contamination in extreme conditions as mechanical disc brakes. Housings can become contaminated, or the derailleur itself can be infiltrated by sludge at its pivot points. If you’re lucky, your bike may feature full length shifter housings, that begin at the shifter and end at the derailleur. If that isn’t the case, install a sealed cable system. Such a system provides the same protection as full length housing, but sheaths the shift cable at points along the frame where it would ordinarily be exposed. Such a system is the Slickwire Pro by SRAM. However, even with a fully sealed system, crud can still find it’s way through the shifter itself. The only way to solve this issue? Electronic shifting – it works in everything – but prepare to pay for it.
-

Photo by Daren Wilz. Chain suck – The miserable condition that occurs in disgusting conditions, exacerbated by load on the chain – as in when you’re climbing a steep grade. Typically, it only happens on smaller chainrings, usually 34 teeth or less. Mud and grit load into the chain, preventing the chain from cleanly disengaging from the chainring teeth. Rather, the chain will snag and wrap back onto the chainring, causing a jam. Back pedaling is the only way to temporarily solve the problem, until it happens again. Liberally coating the chain in your lubrication of choice is the only way to rid this problem – always carry a small container of chain lube with you.

- Chain lubrication – See above point! Make sure your chain is well lubed before starting a ride or race. Repeat – Carry a small container of chain lube with you. If you don’t experience chain suck, you will be glad to silence a chain grinding itself to death.
Clothing
A water and wind proof vest is possibly the best and cheapest piece of equipment for nasty conditions. While it doesn’t offer the same protection as some of the pricier fully fledged rain jackets, it does offer good temperature control. Unless the weather is cold, most rain jackets suffer from the same problem – rider overheating. On the other hand, the trusty vest keeps the most important part of your body warm – the core. When conditions improve, most vests can be folded up and stashed into one’s rear jersey pocket – try doing that with a full blown rain jacket.
If you can swing the cash, the Gravel Cyclist crew HIGHLY recommends the Castelli Gabba jersey and Nanoflex bib knickers. We may post a review of these garments in the future – simply put, they are the best performing rain gear when the temperature is at or below 60 degrees Fahrenheit – and raining. There is a reason why Euro pro cyclists eschew sponsor rain clothing, and take a Sharpie pen to a Gabba, scrubbing out the Castelli name.
Imagine a long sleeve jersey, that is form fitting, just like a regular cycling jersey, but rain water beads up, and runs off. That is the Castelli Gabba jacket – also available in a short sleeve version. Additionally, this same miracle of modern garment technology applies to Castelli’s Nanoflex bib knickers – also available in regular bib shorts – the water simply beads and runs off.
Important – Castelli is NOT paying us to make these comments – all Castelli kit was bought and paid for by the lads on the Gravel Cyclist crew.

Post Event
We recommend you drop your bicycle off at a local bicycle shop for an overhaul. Hub and bottom bracket bearings do not enjoy being submerged into murky, muddy water. Alternatively, if you perform your own maintenance, check over the following items:
- Wheel hub bearings – These take a pounding. Remove both wheels, and turn the axles to feel for grittiness. If the bearings feel worn, replace them. Nowadays, most wheels feature cartridge bearings, which need to be tapped out from the hub shell, and a replacement pressed in. Consult your manufacturers guide for more information.
- Bottom brackets – Are abused. Remove your crankset, and turn the axle / turn the bearings inside the cups to feel for grittiness. Replace the bearings if needed. Alternatively, if the bearings have dried out, the tiny seal on a cartridge gearing can be removed with a very sharp knife. Inspect, and load with a low-viscosity grease if needed. Feel for wear.
- Chains – Check for chain stretch and wear using a chain checker. Replace if necessary.
- Rear derailleur pulleys – With the chain removed, spin each pulley and determine if they need replacing.
- Brake and shifter cables – Run the bike through its paces on the repair stand. Look for cable drag on the brakes, or hesitation on shifting, assuming a mechanical system. Replace cable housings and cables if needed.
In Closing
Above all, bring a good attitude. Cycling in inclement weather can be tough, and wear and tear on equipment can ping you in the wallet. But consider the alternatives. Sitting on your arse on the couch not riding!
A cheap suggestion is to purchase a cheap pump sprayer. I have a 2 gal. sprayer I picked up from Harbor Freight for $15. I just pump and spray away. Any hardware store or nursery or even Amazon should have one.
Here’s one on Amazon for less than a 20:
https://www.amazon.com/Chapin-20002-Garden-Sprayer-Gallon/dp/B0039EEN0M/ref=sr_1_1?ie=UTF8&qid=1480608420&sr=8-1&keywords=2+gallon+pump+sprayer